How to integrate SendPulse with other services using Zapier
Zapier is a service that helps you integrate SendPulse with other apps, like Google Sheets, shopping carts, CRM platforms, and more.
You will be able to share customer email addresses from different websites and applications to your SendPulse mailing lists.
For example, imagine that a user filled out a contact form on your website, their email address will be automatically added to the mailing list in your SendPulse account. A customer made a purchase in your shop – their email address is passed to SendPulse.
The benefit of such an integration is that you can automate your email marketing. Just set up autoresponders, and your customers will receive thank-you emails, follow-up emails, and any other scheduled or action-triggered emails that make sense for your business.
There are many processes that can be automated and linked to SendPulse each one that you create is called a Zap.
We’ll take a look at how to configure your integration with Google Forms, and why you may want to do so. Our goal is to send email addresses from the Google survey form to your SendPulse mailing list. Using the same process, you can configure other applications.
Create a new zap
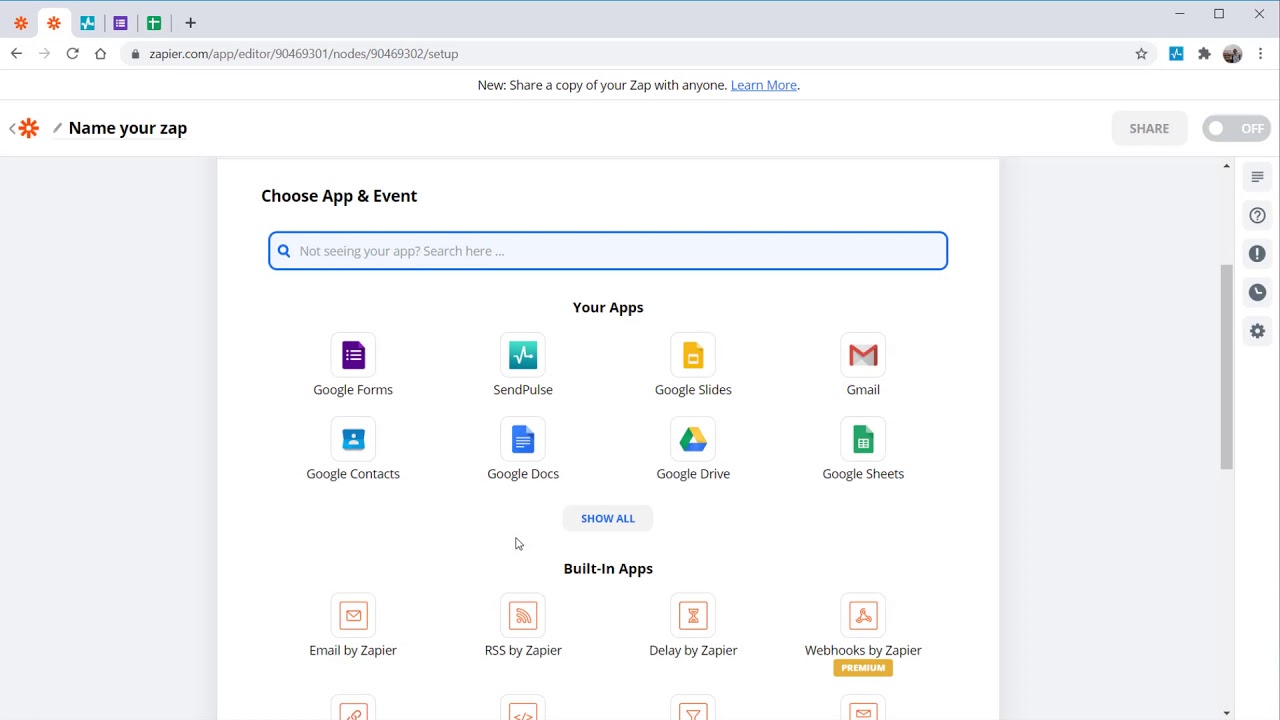
To create a new Zap click Make a Zap.

Choose Google Forms from the app list
Search for Google Forms and select the app from a list.

Choose a trigger event
In our case, the trigger (the action that will launch the Zap) will be adding a new contact to your Google Sheets spreadsheet.

Connect your Google account
Click Sign in Google Forms and authorize in your Google account.
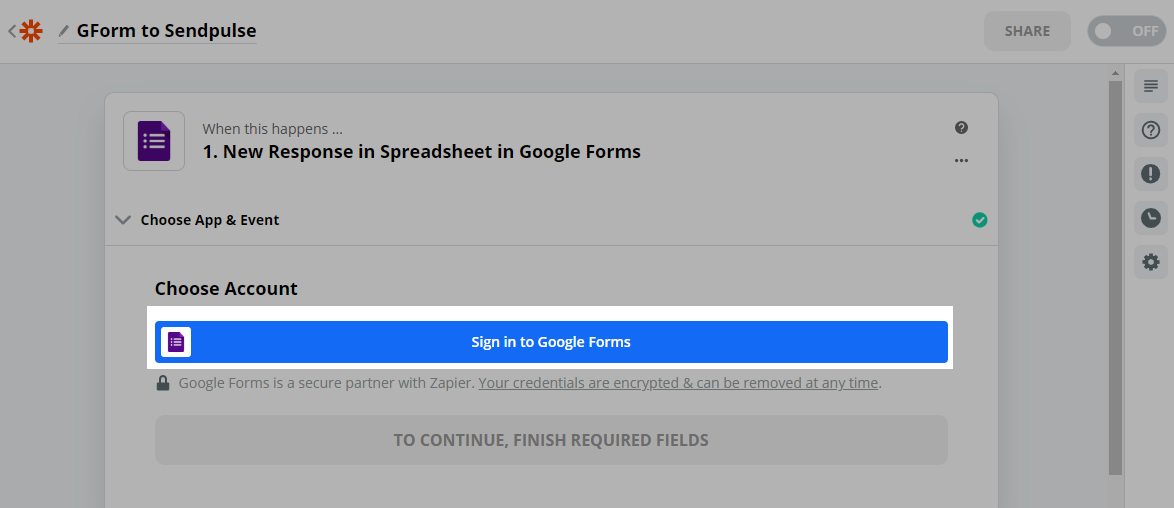
And provide with necessary permissions to Zapier.

Choose the sheet with your survey answers
Choose the Google Sheet, which is connected to your Google Form, the worksheet where answers from users are recorded.

Click Continue.
Perform a receiving data test
You need to determine what kind of data will be transferred in order to use it in the integration. Doing a test also makes sure that Zapier successfully receives data.
Click Test trigger.

If the request was successful, you will receive a message with the data that it has received. Click Continue.

Choose Sendpulse from the app list
Now we are going to create an action, which will be performed with received data.
Enter Sendpulse in the search field and choose it.

You can also add build-in zap apps and manage the received data - filter, add conditions, delay Zap execution, and more.
Choose an action
Three actions are available with this integration:
- Add a subscriber to your mailing list;
- Unsubscribe a user from email campaigns;
- Update subscriber information in your mailing list.

Select Add Subscriber to add a new subscriber.
Connect your Sendpulse account
Click Sign in to SendPulse and authorize in your account.
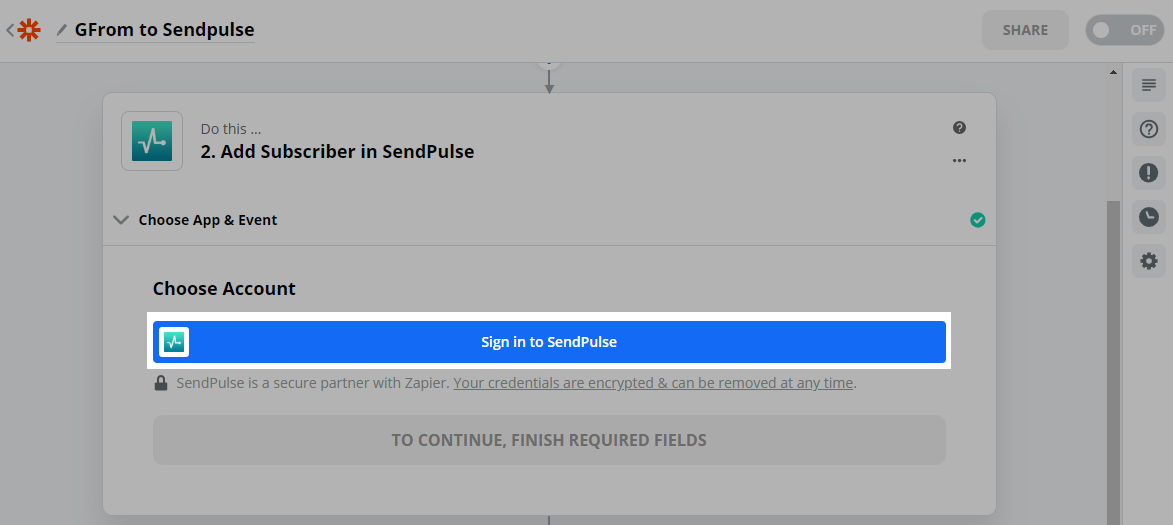
You need to enter the login and password for your Sendpulse account to connect it to the integration.

Choose a SendPulse mailing list
Select the mailing list, to which users who fill out the form will be transferred.

Map variables
You can select which form field should be mapped to a specific variable in your mailing list. The integration supports transferring the following variable types: String, Date, and Number.

Please note: that before doing the mapping, you need to create a variable in the mailing list in your Sendpulse account before you can transfer it from your Zap. If you forgot to create some kind of variable, you can create it there, then click on the Refresh data button and pull the variables from the mailing list into the integration in the form of additional fields where you can record the value of the answers.

Perform a sending data test
After setting up how and where to transfer the data, you need to test that it sends data properly. Click Test & Continue.
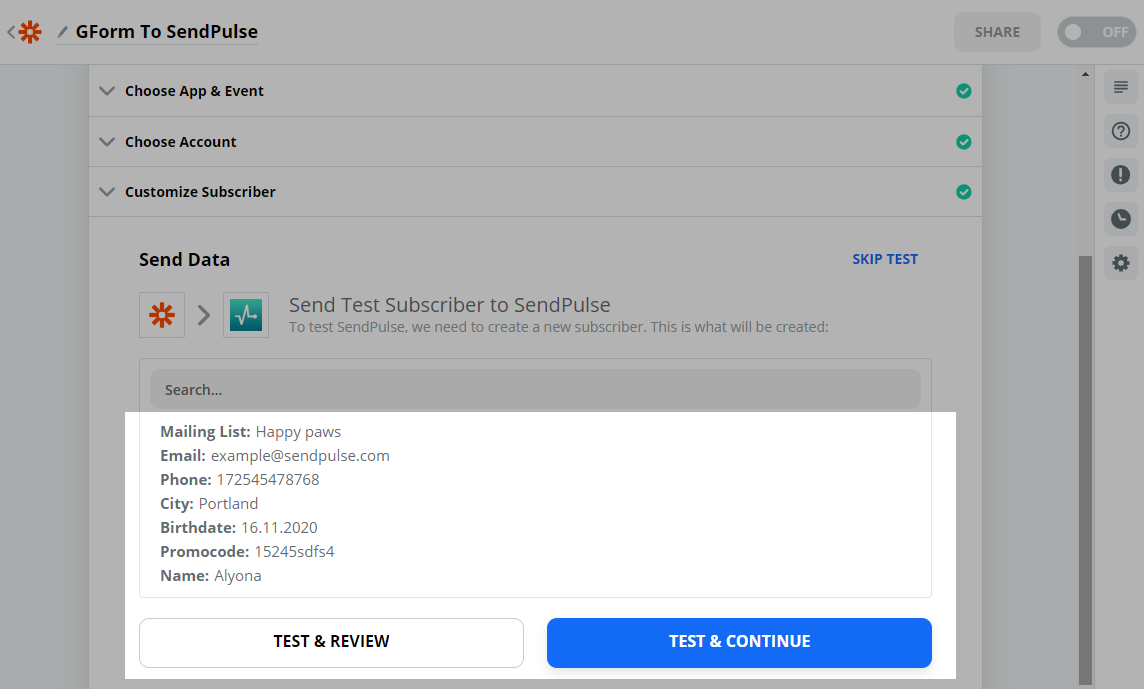
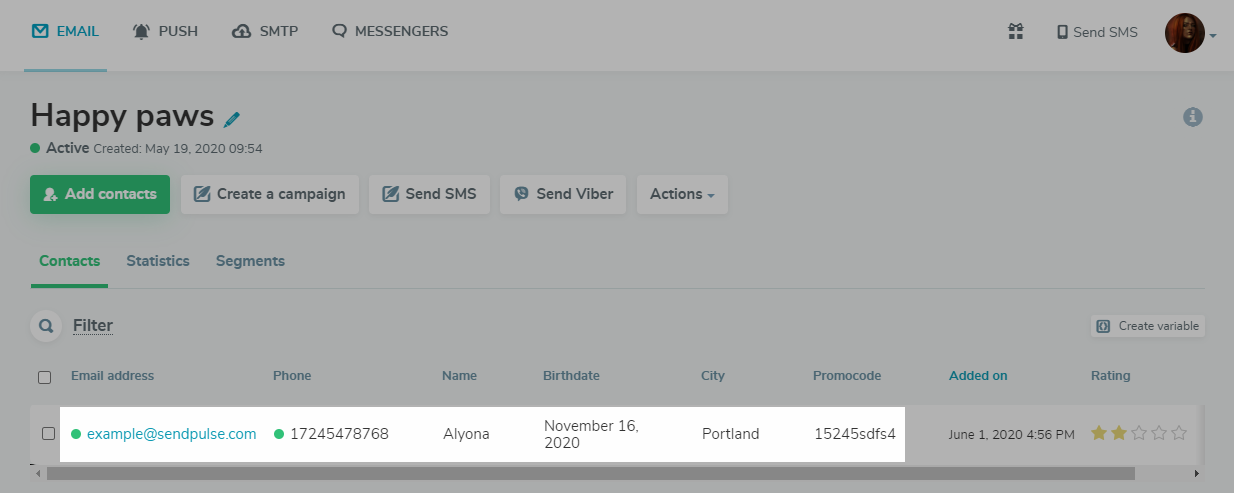
Check the connected mailing list - the contact with the variables in the fields that you configured, should be added.
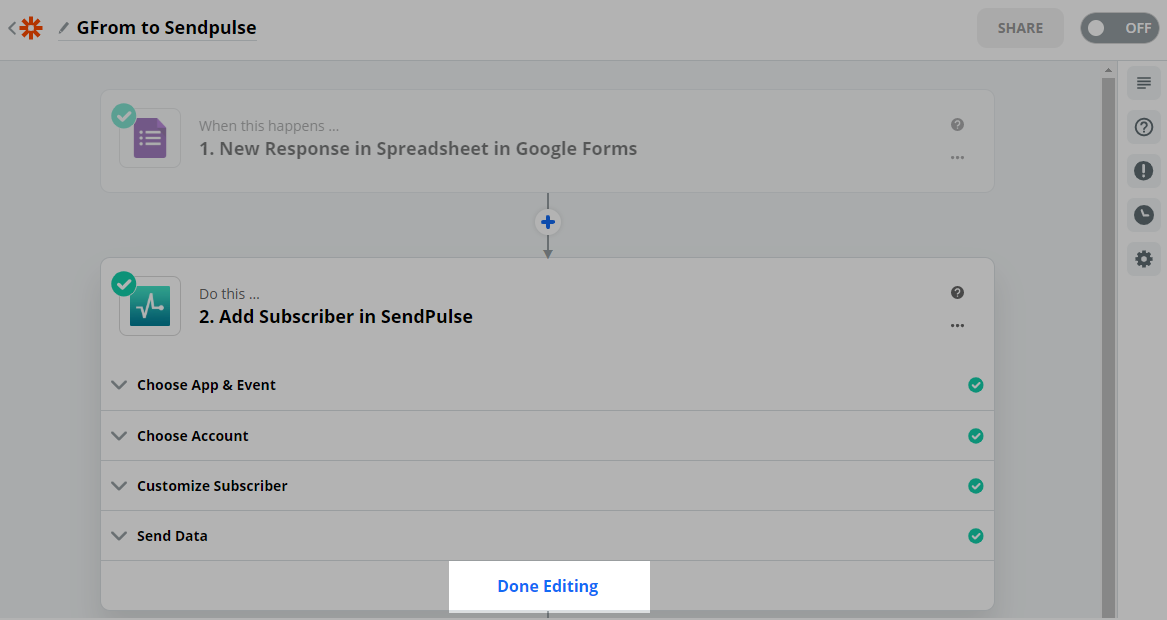
If everything is correct - click Done editing. Your integration has been successfully created.
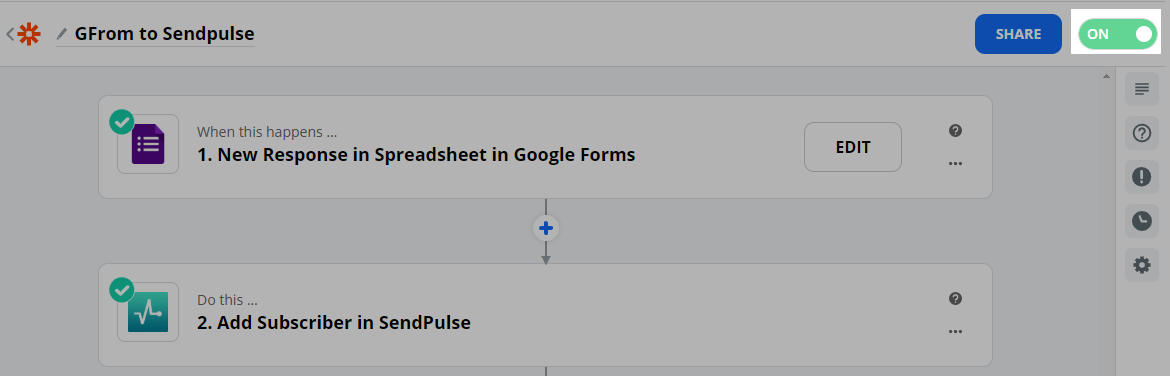
Launch the zap
In the upper right corner, switch the toggle switch to On to start your newly configured zap.
Manage your zap
On the left side menu, select Zaps. Choose the Zap that you created.

You can manage your Zap in the following ways.
| Run | Start the execution of the zap manually to check the function of the Zap. |
| Edit | Edit the settings for receiving and transferring data with the Zap. |
| Rename | Rename your Zap. |
| Share Zap | Share your Zap’s configuration. |
| Move to folder | Move the Zap to a folder. |
| Task history | View the history of the Zap’s executions, information about the time and data that was received and sent, and view detailed errors for transferring or receiving data in order to fix them faster. |
| Copy | Copy the Zap settings to a new Zap. |
| Trash | Delete the app. |
Last Updated: 05.01.2024
or